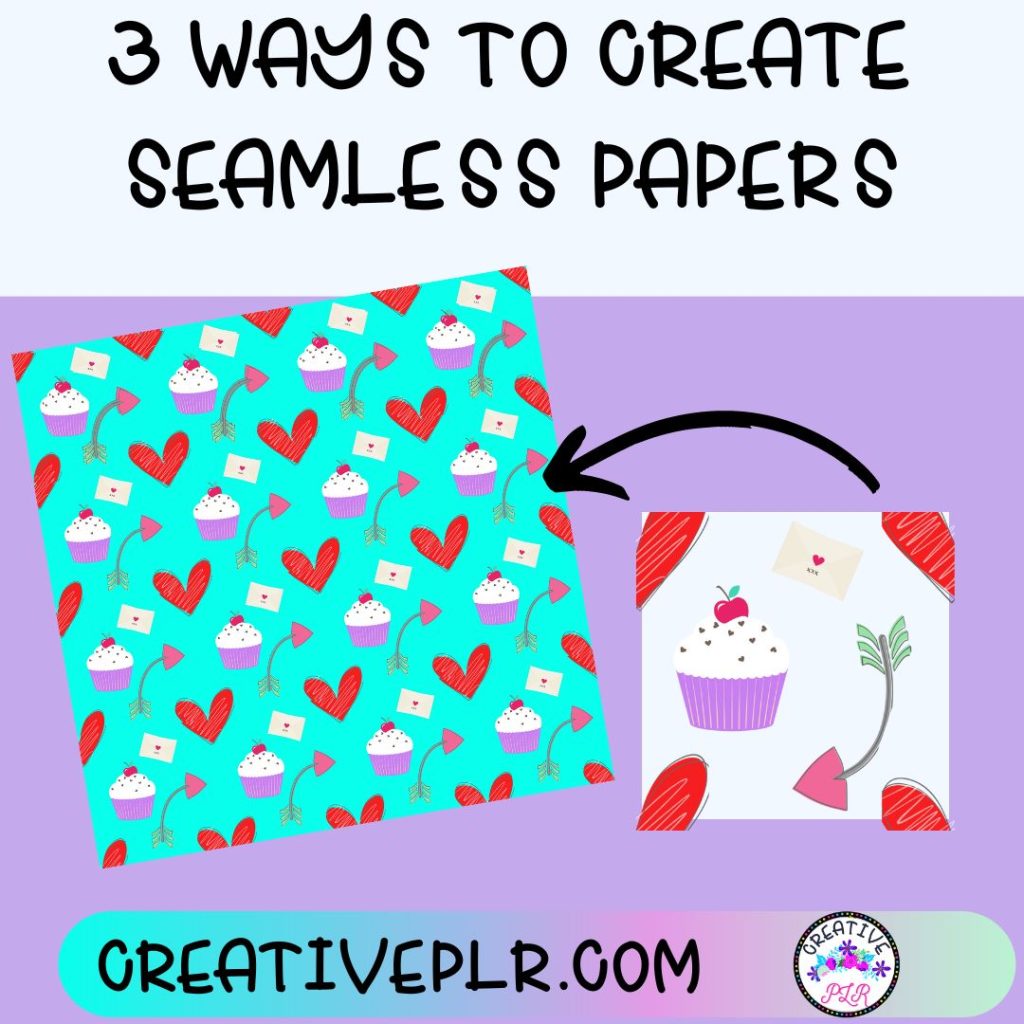
I love creating seamless papers and use them in a variety of ways. You can create cards, stationary, borders, covers and wall art for starters, but the sky is the limit.
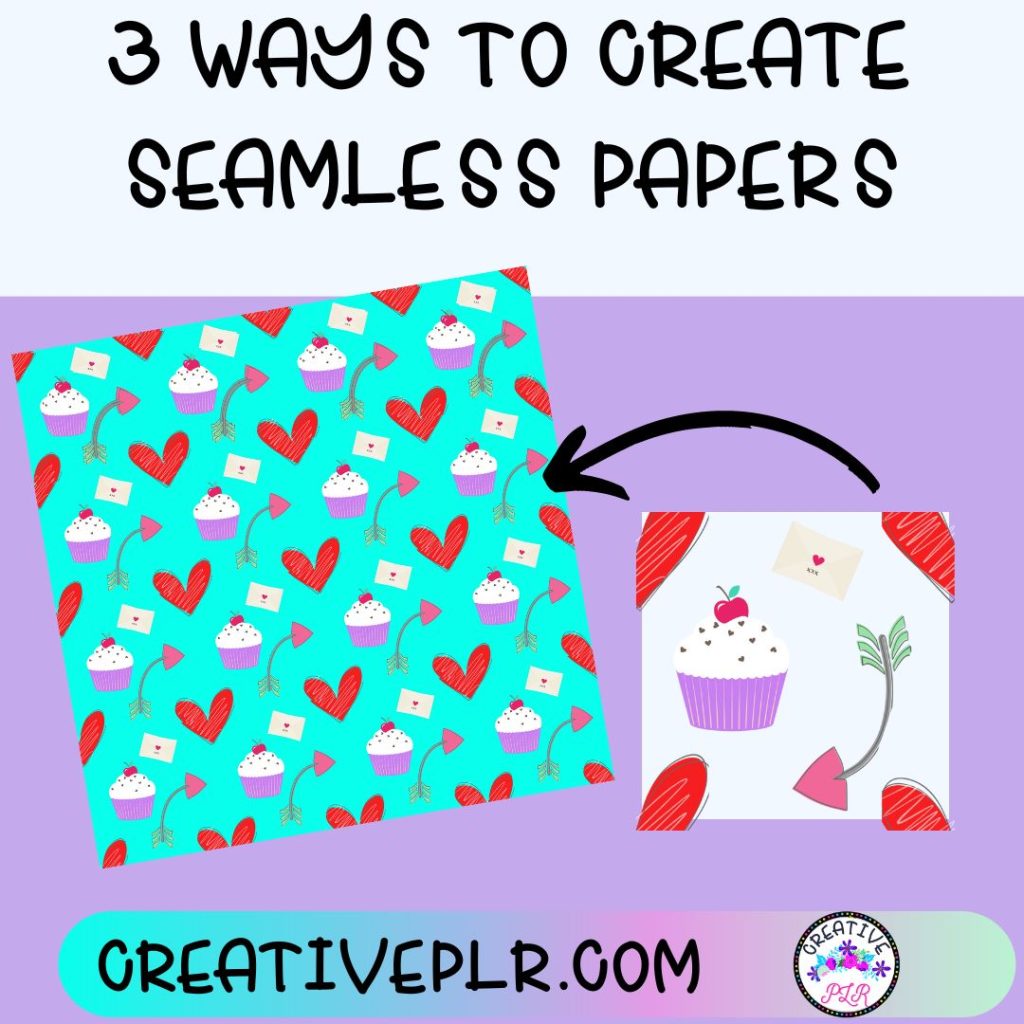
I still create seamless papers and graphics in Photoshop because that was how I first learned and over the years it has become easy for me. However, there are so many tools now to create papers that I thought I would share some easy ways for YOU to get started.
1. Create Seamless Papers with Repper
The Repper App is one way to create papers, not only color designs but coloring pages. And there are two different ways to create paper using this app. Your final result is dependent on the paper or design you start with.
Load your paper into the App and select one of the patterns (seamless). Moving the pattern around the paper, you can see which of the designs you like. Digital papers are usually created in a 12 x 12 inch size, so when you export the design chose PNG or JPG and 12 x 12 inches. You may have to adjust the repeat to achieve a 300 d.p.i.
These papers are geometric because you are using a geometric figure-triangle, square, etc- to create the design. Some of the patterns are designated “seamless” and some are not. But you can use even those patterns to create a seamless paper.
Instead of creating a paper, create a tile in Repper and use that tile to create a whole page design. You will use a pattern but instead of exporting as a 12 x 12 inch size, click on the tile icon and export as a tile.
Export using either 400 x 400 px , 600 x 600px or 900 x 900 px. The smaller size will create a small design while the larger size will only take 4 x 4 tiles to create a 12 inch square paper.
2. Create Seamless Papers in Canva
You can achieve a different look using either Canva or PowerPoint. In Canva, create a custom size either 600 x 600 px or 900 x 900 px. And also create a 12 x 12 inch size (3600 x 3600 px). You will create your design on the small square. Once your design is created, you will download that square as a PNG file with a transparent background.
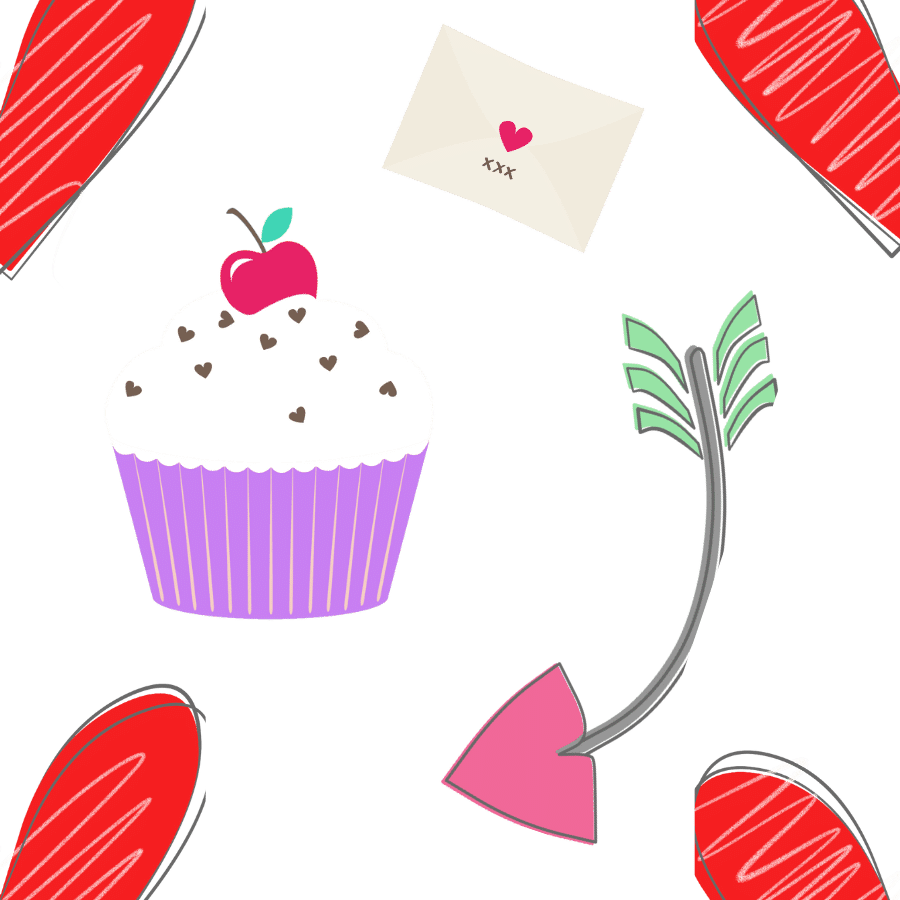
Start with an image for the corners. Size the image so it is square, I used a
400 x 400size. Then I placed the square in the corner, ¼ at each corner. Yes, it takes a little moving around to get it just right. Use the rulers to adjust so that you have 200 x 200 px at each corner.
Once that is done, add some other images in the center. I like to turn them slightly so they are not all lined up in rows. And when you are done, download as a PNG with a transparent background.
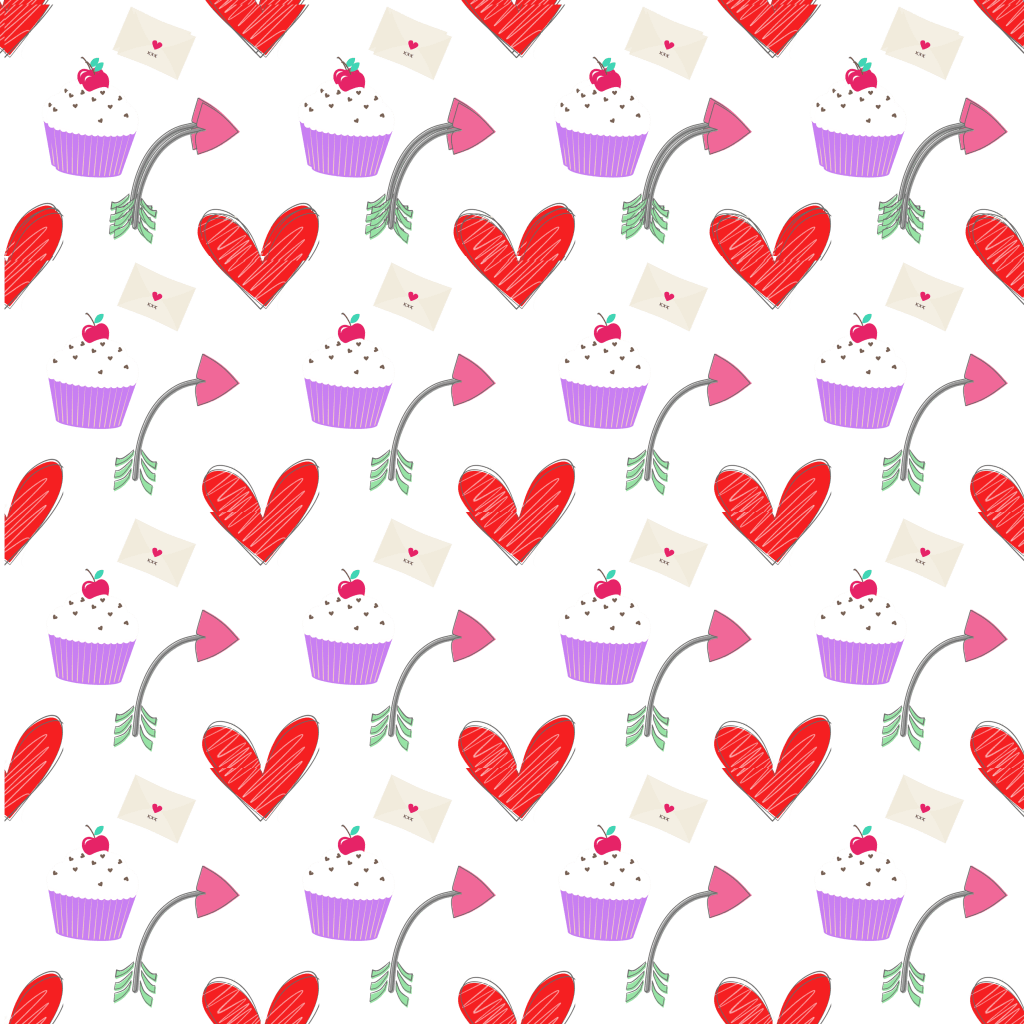
Then upload the square to your 12 x 12 size background. A 900 x 900 square will fit 4 squares across and 4 rows. Resize the first one to get it the correct size then copy and paste across the row. Then copy the row to fill the square.
At this point I save the entire page as a PNG with a transparent background. You can then upload back into Canva or any other design program to add color to the background. I like to save the page first, so I have my transparent file. By changing the background colors, you can create an entire pack of papers that are color coordinated.
3. Create Seamless Papers in PowerPoint
You can use the same process as you used in Canva to create a tile and paper in PowerPoint. You will create a design “tile” in the 900 pixels square. And you will create a design that is 12 inches square. Check your settings so that when you save as a picture, you are saving as 300 d.p.i and not “high fidelity” as the standard option is.
To make sure you are saving correctly, go to options: Click Advanced.
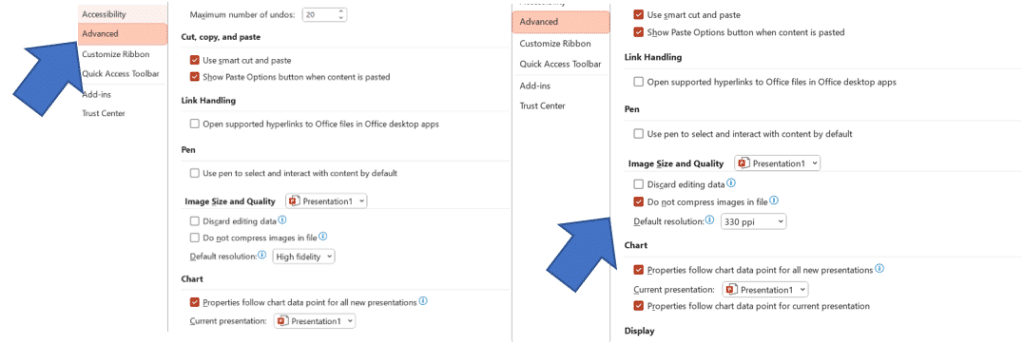
Then change “high fidelity” to 330 d.p.i. This will ensure your designs are saved correctly.
The added benefit of PowerPoint is that you can add guidelines to help you size your designs and tiles. Add the guidelines and rules under View, and then click the boxes labeled Rulers, Guidelines, Guides. If you right click on the lines you can add additional horizontal or vertical lines.

I like to use the lines on the tiles so that the corners are lined up and also use the lines on the 12 inch paper to place the tiles.
The tiling process is the same, place the elements on the tile as you did in Canva, then when you are happy with the placement, save the tile as a picture. Group the elements together and then the square and right click, save as picture.
For ideas of how to use all this digital paper, check our the prior blog on Creating stationery and Planner Pages and for help on changing color palettes read Finding Color Inspirations for Color Palettes.
I would love to see what you have created. Please drop me an image, or two at [email protected].
