Over the years, I have used Canva for a variety of purposes. At first I used Canva for creating teaching materials to use in the classroom. Later, when I began selling those classroom materials, I used Canva to design cover images, Pinterest Pins, Instagram posts, and ETSY images.
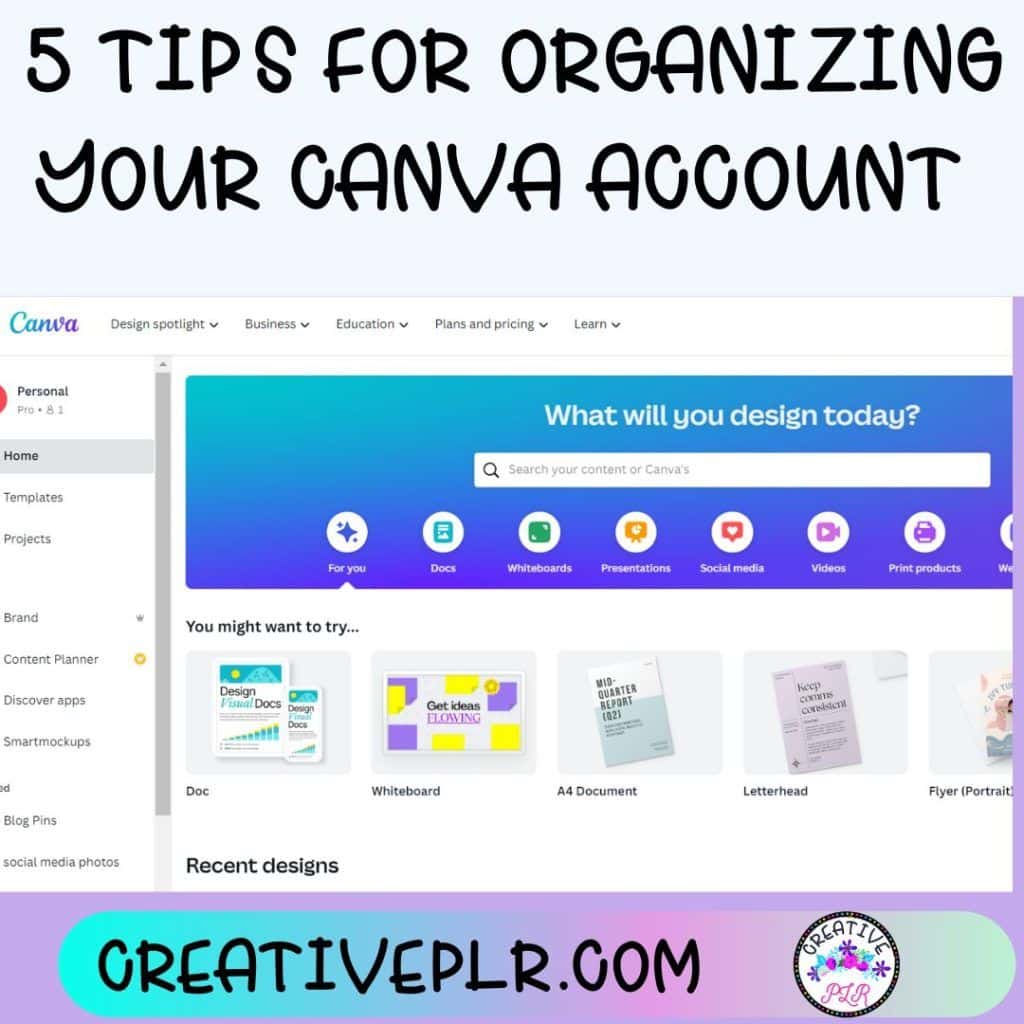
Canva makes it easy to create whatever you need with its simple drag-and-drop interface. With the ability to add text and graphics to your designs, you can create powerful visuals for your website, Facebook page, or Twitter account as well as product mock ups, product videos and GIF’s. If you are not familiar with Canva, then time to introduce yourself.
However, if you have used Canva for any length of time, your account can get packed with designs. This is even more important if you have purchased templates from others and those templates are now in your account as well. And now all those time saving benefits are lost because you are spending time looking for a design template you need.
Organizing your Canva account is an important step for designing efficiently. By cleaning up the clutter, you can easily find the designs you are looking for and minimize the time spent searching for them. So here are my 5 tips for clearing the clutter and organizing your account to be more productive.
1. Avoid the Canva Home Page
By this I mean when you log in, click on Projects and avoid that main screen that shows EVERYTHING you have ever used. And after some time, that home page is overwhelming. Your Projects includes designs you have created or added from sellers while the Home Page includes suggestions, similar designs and a big blue banner with ideas of designs to create. If you are creating something new and need suggestions, then Home is where you want to be.
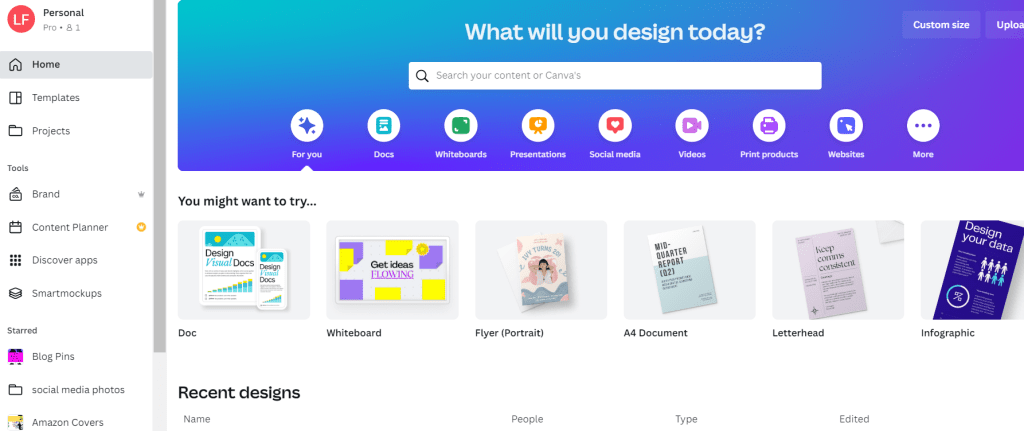
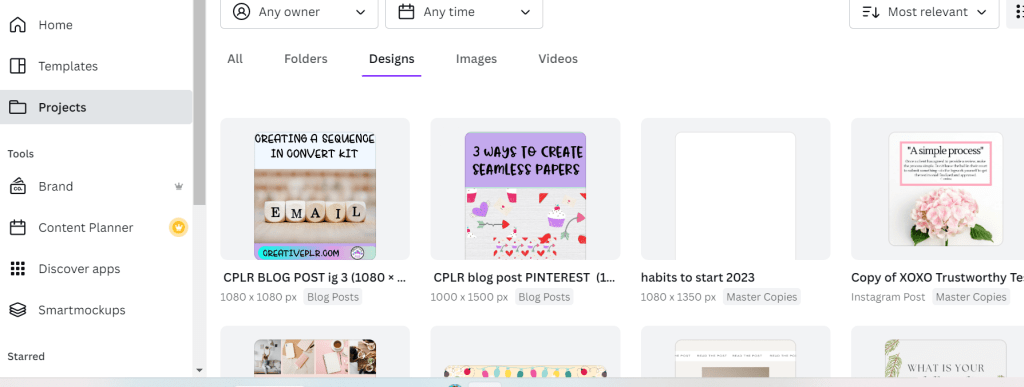
But if you already have designed items or purchased templates, start with Projects. Now you can search by Folders, Designs, Images or Videos. And you can search by a time frame. Let’s start with organizing our Designs.
2. Rename Designs
I tend to have the bad habit of copying a previous design and so many of my designs will say “copy” , so the first step is to name you designs correctly. What type of designs do you have? Product covers, Pinterest Pins, Instagram Posts, Planners, etc?
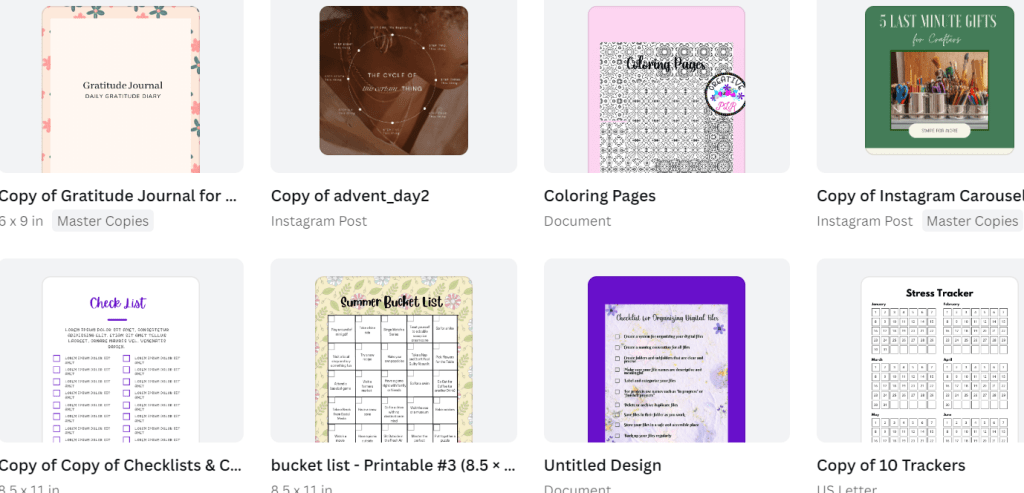
Go through your designs and rename with searchable terms. Rename anything that has “Untitled Design” as well as anything that has “copy” in front of it. Canva has a search feature in your Projects but if your design is not named as you would search for it, you won’t find it. So name those designs so you can search for them.
3. Rename and Organize Images
Sometimes I upload images to made a sales page, product cover, or to include in a video. I don’t really need all those images, so if you don’t think you will use them again, delete them. Canva does store trashed items for 30 days, so if you change your mind or accidentally delete something you need, just retrieve it right away.
Individual images from planners, such as those below that say “slide” were deleted. And sss11.png was renamed as Convertkit Form.
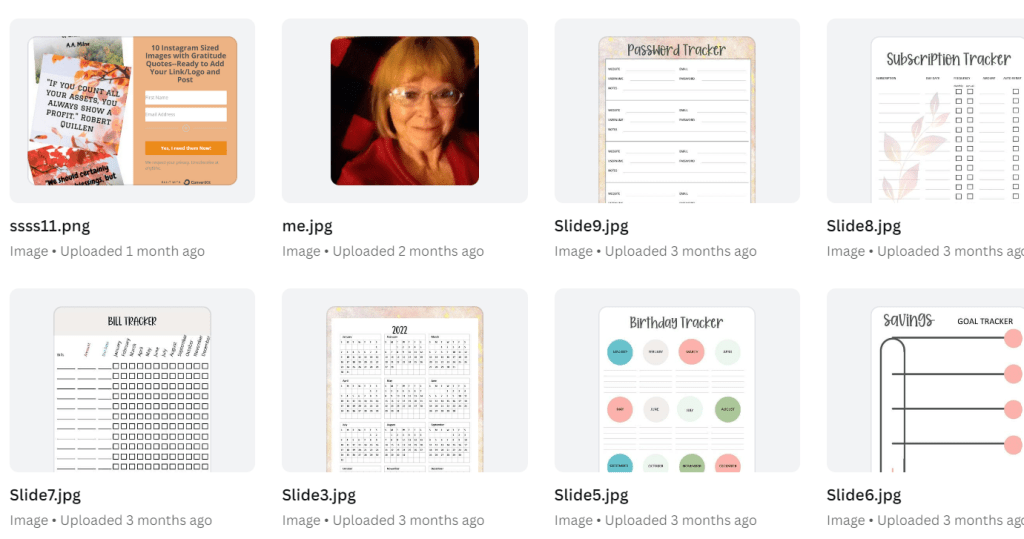
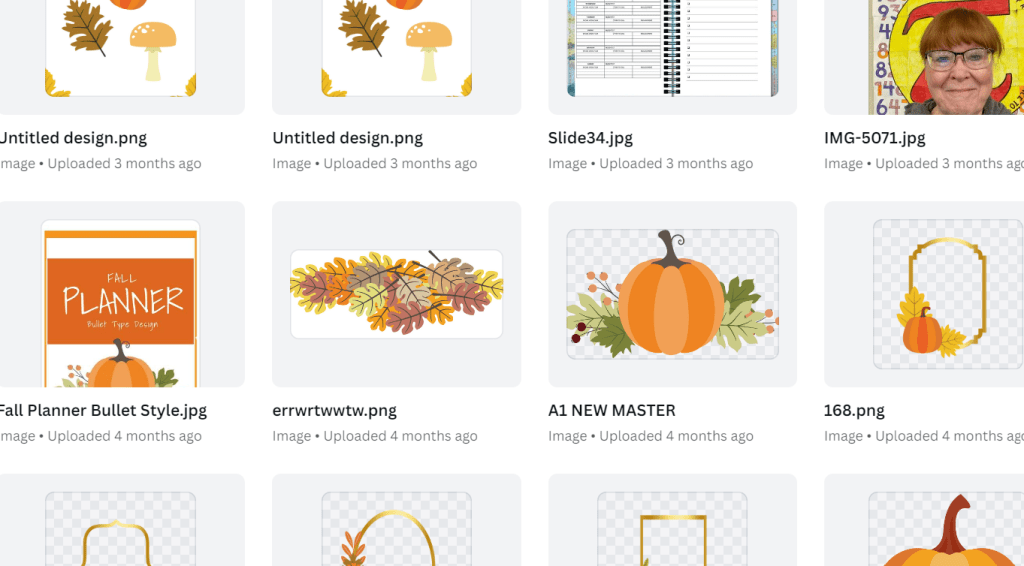
I did keep product mockups, and clip art that can be used for designing products in Canva. Those images will be moved to a folder in the next step. In this group, I am saving all the Fall images together, and deleting that picture of me, lol. Slide 34.jpg was deleted as was one of the Untitled design,.png.
4. Create Folders
Now that you have reviewed all your designs and images, you probably noticed some recurring themes. Create folders that group together your designs. If you have blog images, title a folder Blog Posts and put all your designs that have to do with blogs in that folder. Add folders for other designs you have. I titled my folders this way: Pinterest Pins, Planners, Checklists, Trackers, Blog Posts, Sales Pages, Product Mockups, Product Covers, etc.

And the images were grouped: Fall Clip Art, Halloween Clip Art, Christmas Clip Art, etc. If you have clip art that applies to a certain planner or other product, I would include it in that folder too. That way you don’t have to look for the clip art separately.
5. PLR Products
Many PLR sellers are offering Canva templates and that can create overload as well. Use the same system of naming and creating folders. However, for PLR you may want to create subfolders with each product in a different file. Otherwise, you may have dozens (or hundreds) of individual folders of PLR.
Create a folder for PLR Templates, and click on the folder. Once in the folder, create another folder and name this by the seller or name of product. Example XYZ Seller, Meal Planner. This way all your PLR is stored in one folder, and within that folder you have each product neatly stored in it’s own folder.
To keep your Canva account organized, use keywords to label your designs, organizing them into folders, and deleting any designs that you no longer need. Additionally, by regularly searching through your account you can quickly delete any unwanted designs that may have been added by mistake. With a few simple steps, you can easily keep your Canva account organized and ready for designing.
I hope this has been helpful. I know my Canva account was so messy that it was easy to recreate a design from scratch that to find a design that was created the month before. This added extra work to each task in Canva and created a lot of stress.
If you have been using Canva for years, like me, it may take several sessions to get it neat and tidy. All that digital clutter needs organizing and you don’t want to rush the process. The goal is to create a system that will save you time.
Looking for other tips on productivity? Check out these previous blog posts: 9 Tips for Increased Productivity and Increase Productivity with Time Blocking