If you’re crafting digital designs for products, Photopea is your go-to online tool that rivals even the best. I have used Photoshop for years, so imaging my surprise (shock) when i found that Photopea does many of the same moves as that ultra-expensive Photoshop. And it’s Free.

Imagine enhancing your design skills with just a few simple hacks. Whether you’re a newbie or a seasoned creator, stepping up your game has never been easier. So keep reading for some straightforward design tricks that’ll take your Photopea expertise to new heights, making your products stand out in a crowded marketplace. Ready to transform your design process?
Understanding Photopea’s Interface
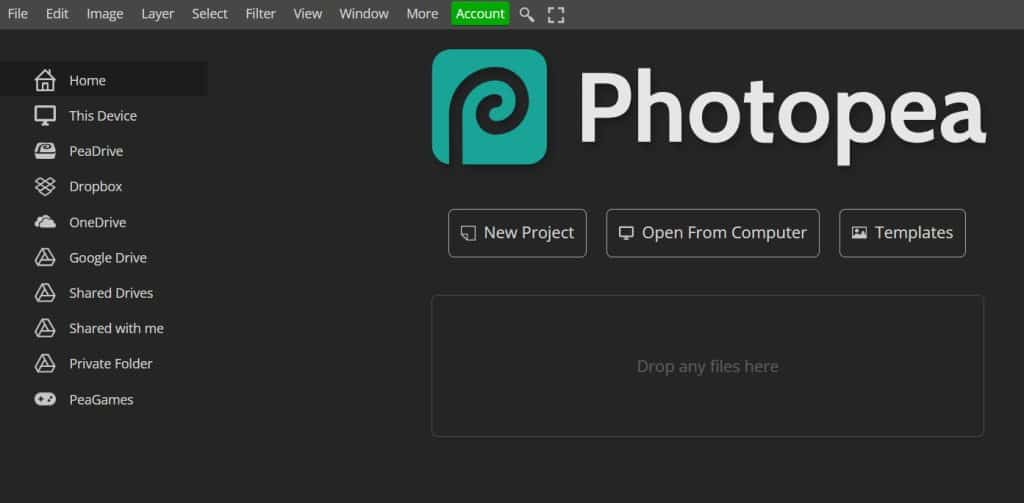
Navigating the digital design world can be daunting. But when you get the hang of Photopea’s interface, it’s like learning to ride a bike – tricky at first, but smooth sailing once you’re comfortable. This guide will walk you through the essentials to make your photo editing more effective and enjoyable.
If you are familiar with the Photoshop interface, you will have no trouble. It is basically the same but with a few small adjustments.

Navigating the Toolbar
The toolbar in Photopea is your best friend. Imagine it as a toolbox filled with tools for every job. Here’s a quick rundown of its main tools and what they do:
- Move Tool: Use this to drag elements around. It’s like picking up and moving a piece of paper on your desk.
- Selection Tools: These let you highlight specific areas of your image. It’s like drawing a square or circle around the part you want to focus on.
- Brush Tool: Great for adding color or effects. Think of it as your digital paintbrush.
- Eraser Tool: This removes parts of your image, similar to an eraser for pencil marks.
- Text Tool: Add and customize text to communicate your message clearly.
These tools are essential for most tasks and getting comfortable with them will greatly enhance your productivity.
Keyboard Shortcuts
Who doesn’t love a good shortcut? Using keyboard shortcuts in Photopea can save significant time. Here are some key ones to remember:
- Ctrl + Z: Undo your last action. It’s like a time machine for mistakes.
- Ctrl + D: Deselect any selection you’ve made.
- Ctrl + C and Ctrl + V: Copy and paste elements quickly.
- Ctrl + S: Save your work as you go. No one wants to lose hours of hard work!
Incorporating these shortcuts into your regular workflow can free up time and energy for creative thinking. Consider them your productivity hacks in Photopea.
By mastering the interface of Photopea through understanding the toolbar, organizing panels, and using keyboard shortcuts, you’ll gain confidence in your design process and produce stunning results more efficiently.
Enhancing Your Designs with Layers
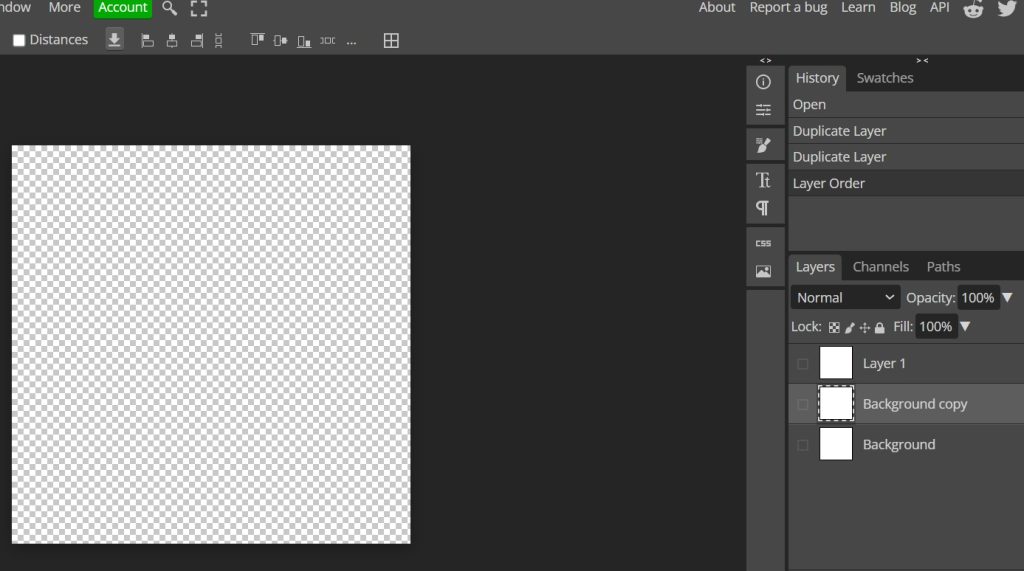
In Photopea, mastering the use of layers can radically transform your design process. Think of layers as the foundations of a building; each part contributes to the overall structure, creating depth, clarity, and flexibility in your work. By using layers wisely, you can craft designs that are not only more organized but also more creative. Let’s dive into some essential techniques for working with layers.
Using Layers

Layer masks are like magic glasses for your design, allowing you to see only the parts you want without altering the original image. Sounds great, right? When you add a layer mask, you’re essentially putting a transparent sheet over your design. You can use black and white brushes to hide or reveal parts of the layer.
- Black conceals: Painting with black will hide parts of the layer.
- White reveals: Painting back over with white will bring them back.
This technique is handy for creating soft transitions or removing unwanted areas without permanently changing your image. It’s like having an undo button, only better.
Group Layers for Organization
Having a cluttered workspace can be a nightmare. Ever tried finding a specific design element but got lost in a sea of layers? That’s where grouping layers saves the day. In Photopea, grouping layers is as easy as holding down the Ctrl or Cmd key to select multiple layers and then hitting Ctrl+G.
Why should you group layers?
- Organize your project: Keep related elements in a tidy package.
- Simplify editing: Make large-scale changes easily by adjusting entire groups.
- Increase focus: With fewer layers in view, it’s easier to concentrate on what matters.
Just like organizing files into folders on your computer, grouping layers helps you stay focused and productive.
Adjustment Layers for Non-Destructive Editing
Adjustment layers are your non-destructive tools for editing the colors and effects in a design. Instead of changing the image directly, adjustment layers sit on top, affecting everything underneath. You can think of them as sunglasses for your photo—put them on, and the world looks different, but take them off, and everything’s as it was.
Applying Effective Text Techniques
When it comes to design, often it’s the little things that make the biggest difference. In Photopea, harnessing the power of effective text techniques can transform simple designs into memorable ones. With the right choice of fonts, creative text effects, and perfect alignment and spacing, your design can communicate your brand message clearly and compellingly.
Choosing the Right Fonts
The right font can speak volumes about your brand without saying a word. Imagine your font as the voice of your design—should it be bold and loud, soft and elegant, or quirky and fun? The key is to match your font to the style and personality of your brand or product.
- Serif Fonts: Best for traditional and formal brands. Think classic newspapers or book publishers.
- Sans Serif Fonts: Modern and sleek, ideal for tech-forward companies.
- Script Fonts: These bring elegance or playfulness, reminiscent of handwritten notes, perfect for creative industries.
- Display Fonts: Bold and decorative, meant for catching the eye when used sparingly in headlines or logos.
Tip: Always consider readability, especially when creating text-heavy designs. A beautiful font that’s hard to read defeats its purpose.
Creating Text Effects
Adding effects to your text can make it stand out. Photopea offers various ways to enhance your text design with ease.
- Drop Shadows: They add depth and make text pop against busy backgrounds. Adjust shadow distance, opacity, and blur for different effects.
- Outlines: Outlining your text can improve visibility, especially on complex images. Choose a contrasting color to make the text more pronounced.
- Gradients: Fill text with gradients for a multi-dimensional effect. Experiment with color blends to see what complements your design.
Tip: Don’t overdo effects! Keep it simple to maintain a professional look.
Tip: Consistency is key. Uniform alignment and spacing across your project will keep your design cohesive.
Incorporating these techniques correctly in Photopea will not only enhance your design but elevate your brand presentation to a professional level. The more you practice, the more intuitive these techniques will become.
Leveraging Filters and Effects
When you’re working in Photopea, filters and effects can transform an ordinary image into something spectacular. Just like a painter uses different brushes to achieve specific strokes, filters and effects allow you to add creative flair to your digital projects. Whether you’re a business owner crafting product images or a designer building a portfolio, knowing how to use these tools effectively can make all the difference.
Using Photopea’s Built-in Filters
Photopea offers a variety of built-in filters that can enhance your images instantly. These filters work like magic, applying complex changes with a single click. Here are some popular filters and what they can do:
- Blur filters: Add a soft, dreamy effect to images or blur out a distracting background.
- Sharpen filters: Enhance the details and make key elements pop.
- Noise filters: Create a gritty, textured look that’s perfect for fashion and art photos.
Each filter is easily accessible and can be previewed, allowing you to choose the one that best fits your project’s needs.
Combining Effects for Unique Styles
Combining effects is akin to mixing colors on a palette. By layering different effects, you can create a style that’s uniquely yours. Here’s how you can do it:
- Start with a base filter: Choose a primary filter that sets the tone for your project.
- Layer additional effects: Add subtle texture with a noise filter or a vignette for focus.
- Adjust layers carefully: Play with opacity and blending modes to ensure each layer complements the other.
Think of these combinations as your secret recipe that can make your work instantly recognizable and distinct.
Exporting and Optimizing Your Designs
You’ve spent hours working on your design project in Photopea, and now it’s time to export and optimize your masterpiece for your audience. This step is crucial for sharing your work effectively, whether online or in print. Let’s break down the essentials of exporting your designs with confidence.
Choosing the Right File Format
When it’s time to export your design, choosing the right file format can make all the difference. Photopea offers several export options, each with its own purpose. And check the D.P.I to make sure you are saving with the right resolution–it will save big headaches later. Here’s a quick guide to help you decide:
- JPEG: Ideal for web images. It compresses well, maintaining quality while keeping file sizes manageable.
- PNG: Perfect for images that require transparency. Though larger in file size, it’s excellent for web graphics.
- PDF: Best for print, as it retains vector data and can support high-quality images.
- SVG: Useful for scalable vector graphics, especially if you need to maintain quality at any scale.
Select a format based on your design’s intended use to ensure the best quality and performance. And now I see that many PNG sellers include JPEG as well as SVG in their files for customers. It’s a great way to offer additional options with having to do extra work.
Balancing size and quality is a longstanding dance, but getting it right can transform how your designs are perceived.
Mastering Photopea boils down to practice and applying the right techniques. By implementing simple design hacks, you can elevate your skills and create impressive products. The key takeaways are to focus on layering, utilize shortcuts, and experiment with blending modes.
Make sure you back up your files and save. And if you are looking to use Photopea without having to create from scratch, check out Creative Fabrica for some Photoshop files you can use in Photopea. Try using some overlays to add dimension and excitement to your images.
What will you design next with this new knowledge? I would love to see what you create. Email me at [email protected] or drop a comment below. If you would like me to create a video for using layers, or overlay just say the word.
