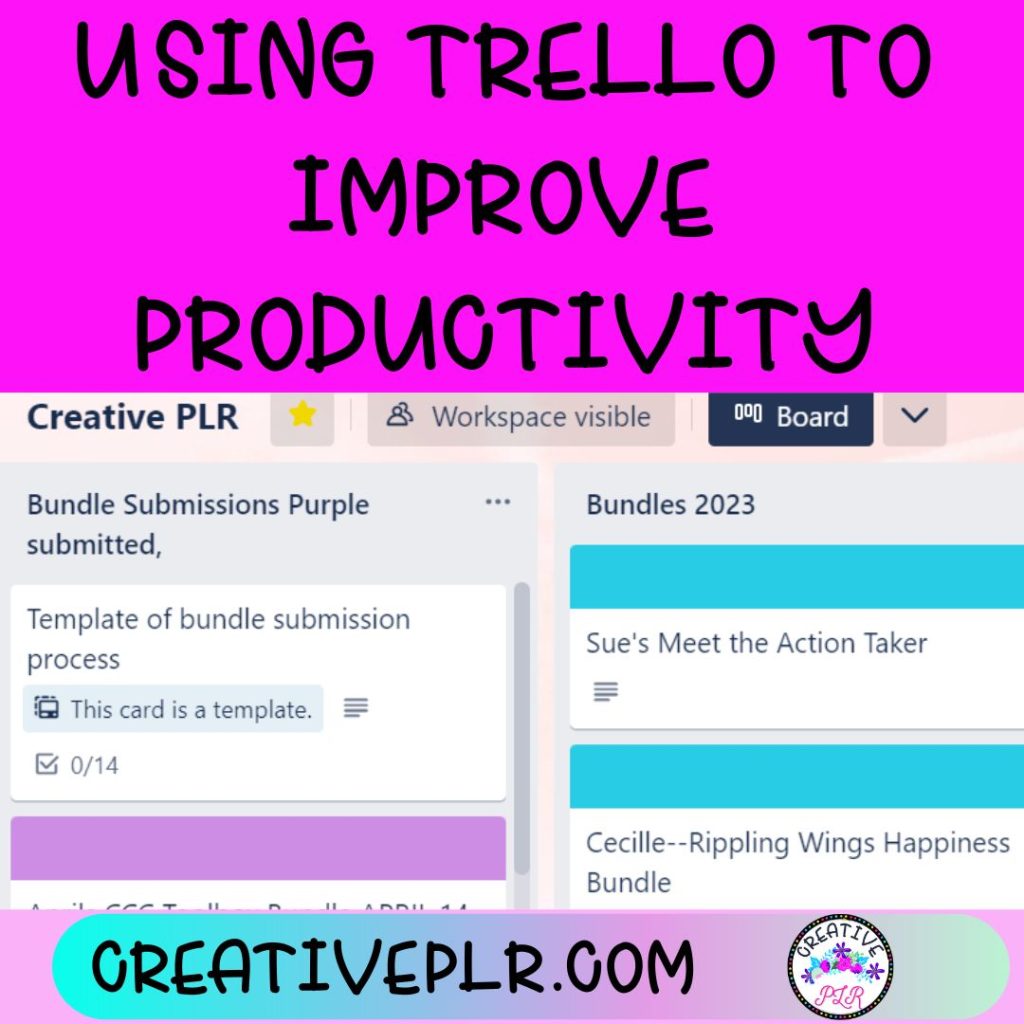
Trello is an online project management tool that helps users organize their tasks, deadlines, and resources. It offers a visual representation of projects by having users create boards, lists, and cards.

The boards, lists, and cards allow you to keep track of any information related to a given project, such as notes, comments, due dates, labels and more. The main benefit of using Trello is its flexibility; it offers many options for customizing your workflow according to the project’s individual needs.
It also allows multiple users to collaborate on the same project from different locations at the same time. Additionally, it can be integrated with many third-party tools such as Zapier or Google Drive for enhanced functionality. Finally, its user-friendly interface makes it easy to use for both experienced and novice users alike.
Trello is free, but there are more options that are available if you have a subscription. While some of those options, like syncing with your calendar and reminders could be helpful, I prefer to stick with a free version You are limited to 10 boards per workspace but you can just create another workspace even with the free plan.
Getting Started with Trello
Creating a board for the first time is an exciting step, but it can also be intimidating. There are a lot of different features and setup options to wade through, making it difficult to know where to start. It’s important to take your time and plan out exactly what you need and how you want your board organized. It is free, or you can pay–your choice. Check it out here: TRELLO HOME
Think about what tasks or projects you will be storing on the board, who will be collaborating with you, and the level of organization that will produce the best results for your workflow. Once you have a clear idea of what type of boards are best for your needs, setting them up should become easier.
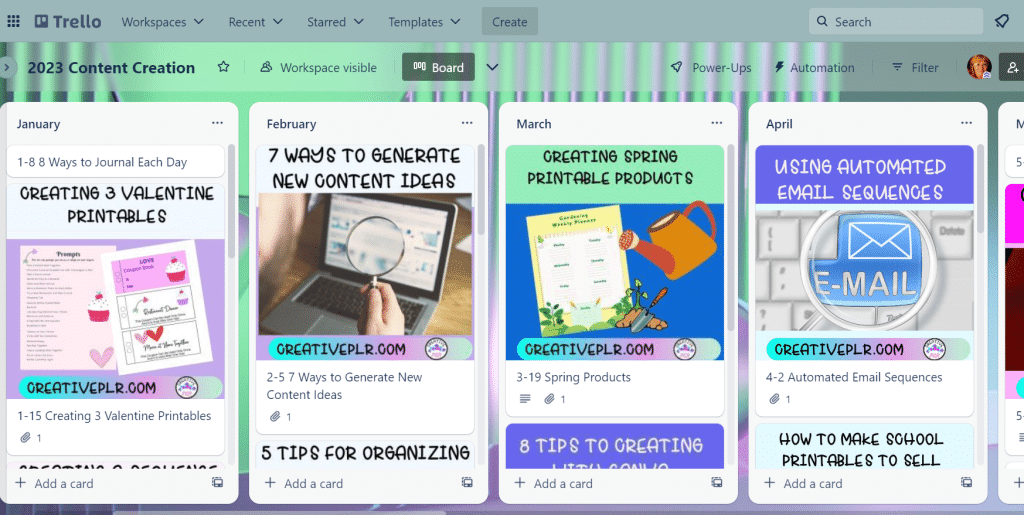
With a little bit of extra planning and some organizational skills, you can set up a Trello board that is efficient and meaningful for everyone involved. I made a Trello Board with my Blog posts, images and links and other information I wanted to keep. It is something I refer to weekly. This is a type of content calendar that could help you lay out product launches, affiliate offers, bundles and giveaways you want to participate in. See my Blog Board:

How Do I Create a New Trello Board?
To create a new Trello board, go to your Trello dashboard and click the “Create new board” button. Give your board a name and choose whether you want it to be public or private. You can also customize the background and add members to the board. Once you’re happy with your settings, click the “Create board” button and you’re all set!
How Do I Invite People To Collaborate On My Board?
To invite people to collaborate on your Trello board, open the board and click “Show Menu” on the right-hand side. Then, click “Members” and enter the email addresses or Trello usernames of the people you want to invite. Finally, click “Send Invitation” to complete the process.
Trello provides an easy way to collaborate with other team members by allowing users to comment on individual tasks or attach files for reference. This ensures everyone is on the same page when working together on projects.
How Do I Add Attachments, Comments, and Due Dates To My Trello Cards?
To add attachments, comments, and due dates to your Trello cards, simply open the card and click on the corresponding buttons on the right-hand side of the screen. You can attach files from your computer, Dropbox, Google Drive, and more. You can also leave comments to collaborate with others and set due dates to keep track of deadlines.
How Do I Move Cards Between Lists And Boards?
To move a card in Trello, simply click and drag it to the desired list or board. You can also use the “Move” option in the card’s menu to select where you want to move it. You can move a card to a different board by using the Move option and then scrolling until you see the board name.
How Do I Customize The Appearance And Settings Of My Board?
To customize the appearance and settings of your board, you can click on the “Show Menu” button on the right side of the board, then select “More” and “Settings”. From there, you can change the background color or image, add stickers or custom fields, adjust the visibility and permissions of your board, and much more.
You can also add a “cover” or image to each of the individual cards as I did on my Blog Board. This visual reminder is handy and let’s me see the topics at a glance
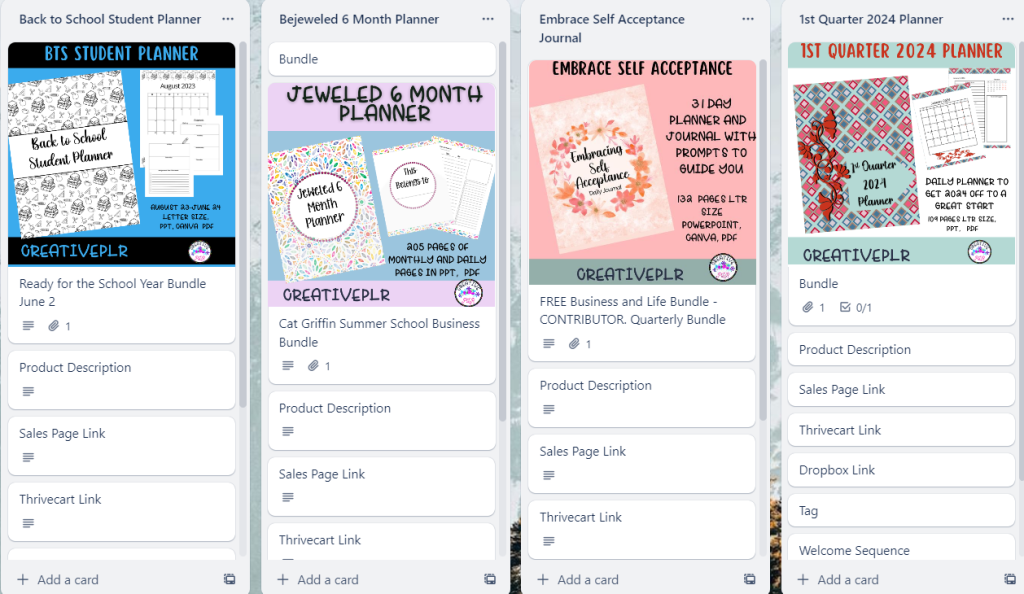
Here is a peek at the board I call my Product Inventory. I have been contributing to bundles more this eyar and for each product I create, I make a list and have all the details that I will need to add this product to a sales page and shopping cart, including all links. It helps to have a visual inventory of these products as well as a list to track all those links in one place.

How Do You Use Power-Ups To Enhance Functionality.
To use power-ups, first, open the board you want to enhance, then click on the “Show Menu” button on the right-hand side of the screen. From there, select the “Power-Ups” option, and browse through the available options. Once you find a power-up you want to use, click on the “Add” button to enable it. The power-up will then be integrated into your Trello board, providing you with additional functionality and features.
However, power-ups can cost so check out the cost of using them. And some power-ups are not as helpful as others, so choose wisely.
How Do You Use The Search Function To Quickly Locate Cards And Boards.
To use the search function in Trello, simply click on the search bar located at the top of the screen and enter the keyword or phrase you’re looking for. Trello will automatically filter your boards and cards to show you the ones that match your search. You can also use advanced search operators to refine your search results even further.
Here Are Some Best Practices For Using Trello Effectively:
- Keep your boards organized and use clear labels and categories.
- Use checklists and due dates to keep track of tasks and deadlines.
- Utilize team members and assign tasks to specific people.
- Use the search function to quickly locate cards and boards.
- Use power-ups to enhance Trello’s functionality.
- Regularly archive completed tasks to keep your boards clutter-free.
- Stay consistent with your Trello usage to maximize its effectiveness
- Use workflows and add checklists
When it comes to managing tasks, Trello is one of the most versatile and easy-to-use tools available. It lets you organize your ideas in an intuitive way, as well as easily set deadlines, assign tasks to team members, and even integrate other popular apps such as Google Drive or Dropbox for easy file sharing.
Trello also makes it easy to prioritize tasks by using labels and assigning due dates. You can label each task with a priority level – for example, high priority or low priority – which will allow you to quickly see what needs to be done first. Additionally, you can assign due dates to each task so that everyone knows when they need to have it completed by.
Get more inspiration with these examples of Trello boards. Looking for other ideas on being productive? Check out this blog post: 9 Tips to Increase Productivity